Skip to content
CrafterBy

Screen Printing cost & pricing calculator

A $3.10 blank tee.
Printed and finished?
$7.05 to make.

Twelve shirts and fifty shirts do not carry the same setup cost each.

Ink, screens, setup and your work add up. This example shares setup across a two-color run of 50 shirts. These are worked-example costs. CrafterBy helps you calculate yours.

Calculate my first product

Start free · Create an account, then add one product

Explore the cost example first
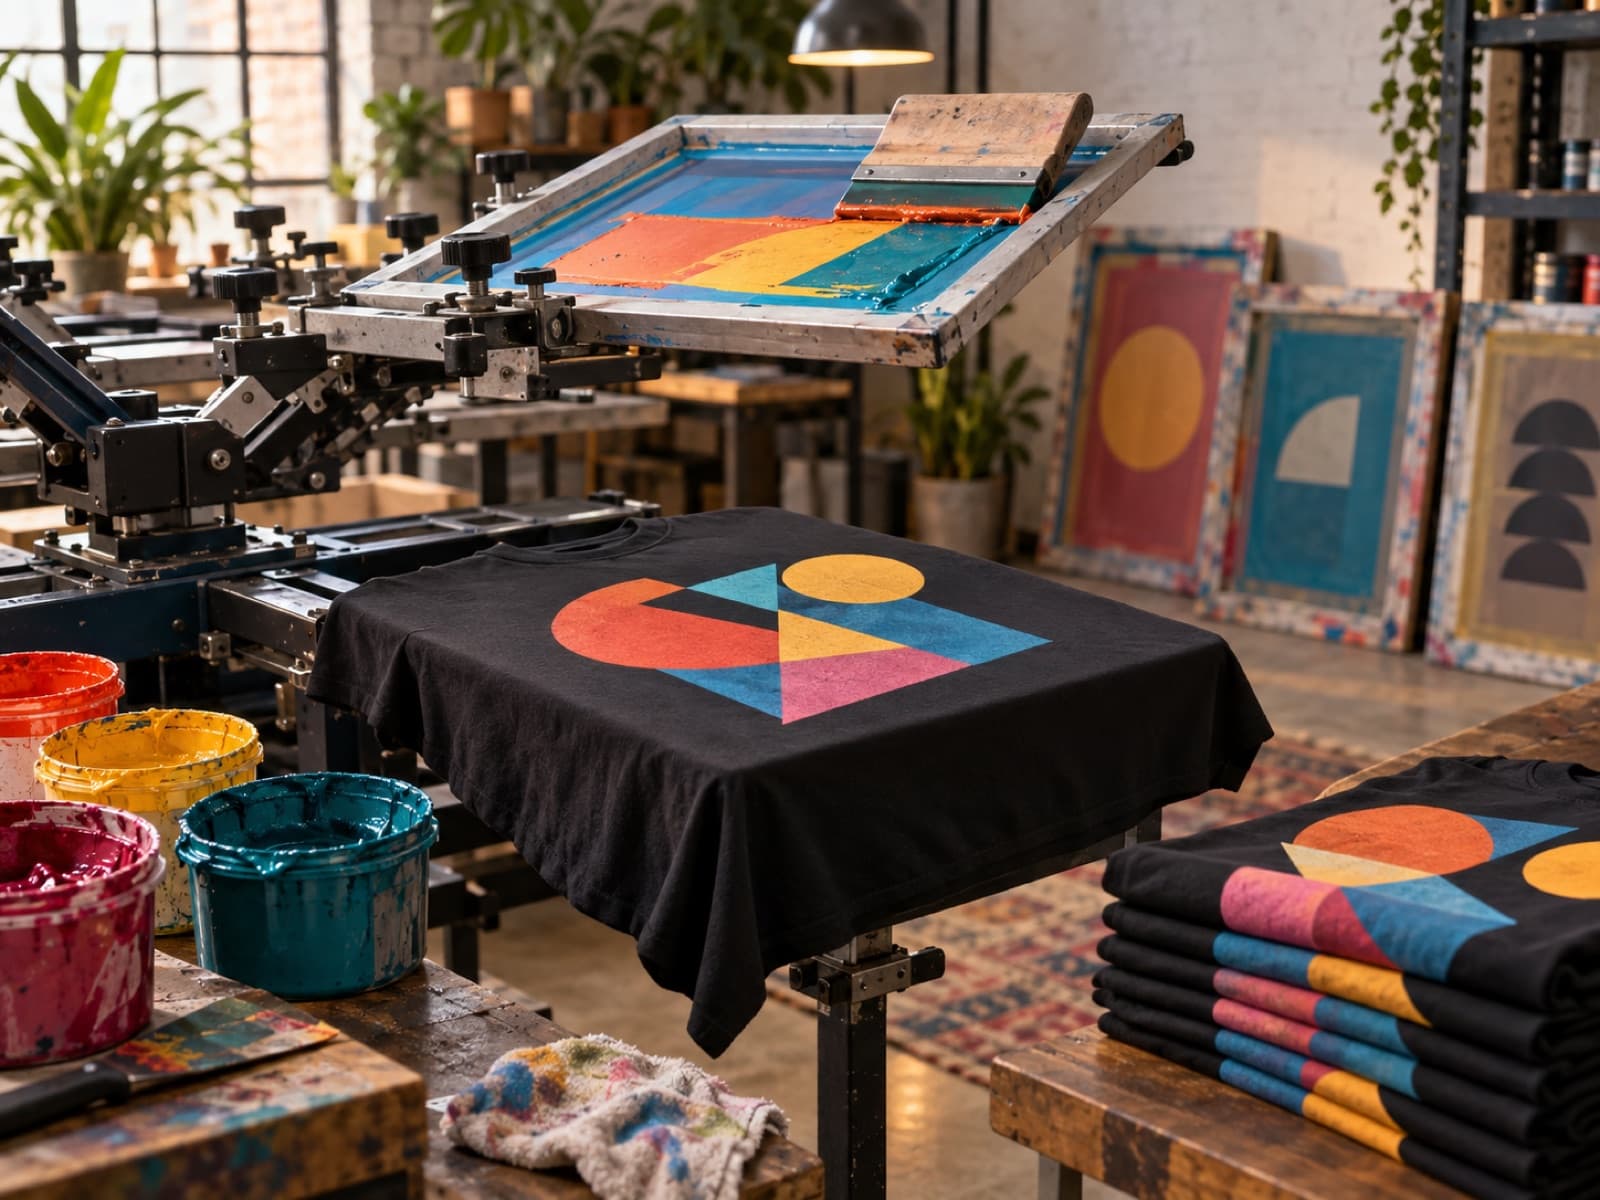
A screen-printing press with a freshly printed shirt and ink squeegees.
Made by you.Every color adds a pass. Every run needs its own math.

From making it to selling it

Twelve shirts. All the setup.

The message says, “Just twelve shirts, two colors.” You can already picture the print. You also know what comes before it: preparing screens, getting the colors aligned, checking a test print, and making the press ready. The small quantity does not make those steps disappear.

After the last shirt, there is still ink to recover and equipment to clean. When you quote from the blank and a quick ink allowance, that work has no obvious home. A useful price starts with the whole run, then asks what each saleable shirt needs to carry. That is how a small order gets a fair hearing instead of a hopeful guess.
01 / Follow the work behind the price

The costs are specific.
Your calculation should be, too.

Start with the parts of your process that are easiest to leave out. Give each one a place in the cost of your finished product.

01

Setup does not shrink with the order

Screen preparation and registration belong to the job, even when the customer wants only a few pieces. Alignment takes its own work. Count that preparation before you divide by the order quantity.

Put it in your calculation

Separate batch setup from repeated printing work.

02

Another color is another decision

Extra colors can add screens, alignment, ink handling, and passes. The effect depends on the artwork and printing method. A two-color chest print and a one-color design on two locations should not inherit the same estimate just because both sound simple.

Put it in your calculation

Build the calculation around the actual print locations and process.

03

The job continues at the washout booth

Reclaiming involves more than putting the screen away. Ink removal, emulsion removal, and further cleaning consume time and supplies. A run also needs usable output: a misprinted shirt cannot quietly become one of the pieces sharing the bill.

Put it in your calculation

Include cleanup and base the unit calculation on deliverable shirts.

02 / See what the price leaves you

One finished product.
The cost behind it.

In this fictional two-color run of 50 tees, the cost is $7.05 per shirt, including $1.60 of screens and setup. Keep the setup the same and reduce the quantity, and each shirt must carry more of that work.

At $14.50, there’s $7.45 left.

That’s after the costs listed in this example. Any unlisted packaging, fees and other expenses still need to come out of it. Move the price to explore the difference.

Illustrative USD example. Your costs and selling price are yours to choose.

Anatomy of a price

Custom tee, 2-color print (run of 50)

Example · USD
Blank tee
$3.10
Ink — 2 colors (per shirt)
$0.45
Screens + setup (2 colors, over 50)
$1.60
Press + cure time (per shirt)
$0.80
Labor — print + handle (per shirt)
$1.10
Cost in this example
$7.05
$14.50
$3.00Explore a selling price$22.00
Left after listed costs$7.45

51.4% margin
before other expenses

A fictional worked example, not a recommended price. Include any packaging, overhead, selling fees and applicable taxes not listed here before treating the remainder as profit. Changing the price doesn’t predict demand.

Make the next decision with the numbers visible

Show what quantity really changes

The illustrative 50-shirt example allocates $80 of screens and setup at $1.60 each. For 12 shirts, that same preparation is about $6.67 each. Holding the other example costs at $5.45 per shirt gives about $12.12 per shirt before adding any costs absent from the example.

Those are teaching figures, not a price list. Enter your own blanks, ink, equipment time, and labor in CrafterBy, with the setup share for the confirmed quantity. A saved product template makes it easier to compare another run without losing the work that happens before the first print.

Calculate my first product

03 / Put your costs somewhere useful

Know this product’s cost.
Keep it for the next order.

CrafterBy brings materials, active labor and equipment costs into a saved product. Explore the real app below.

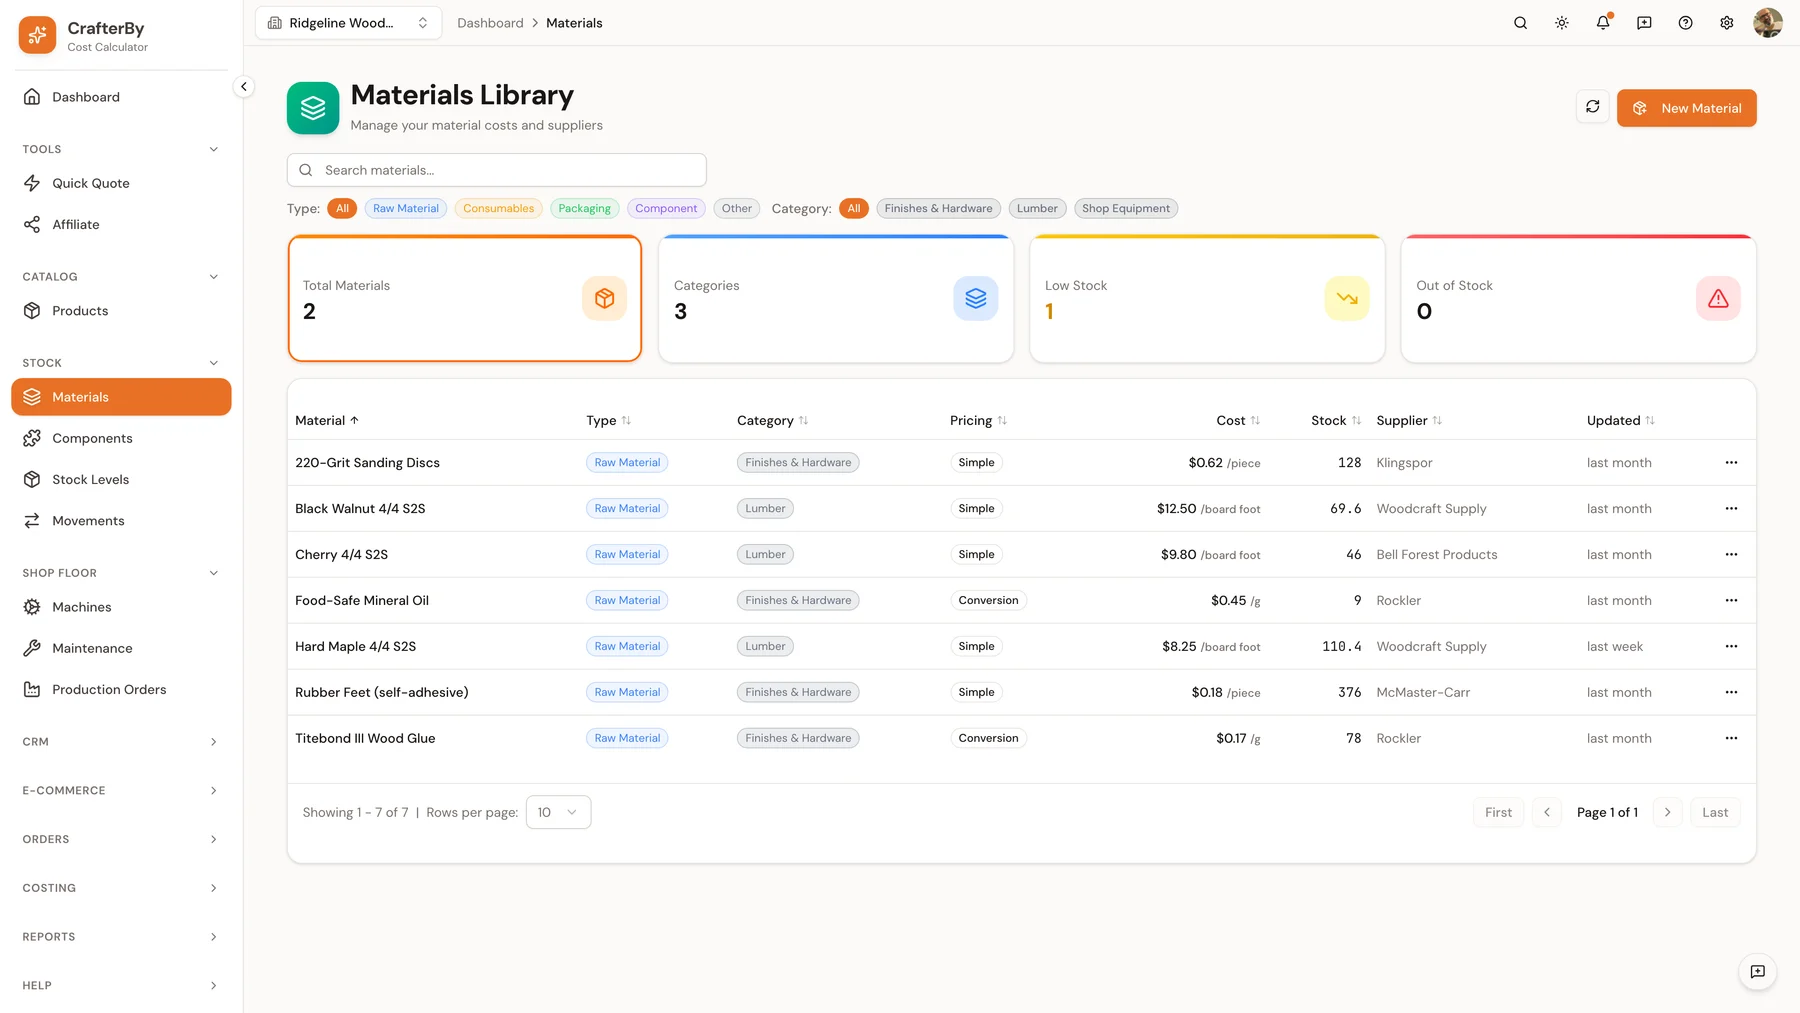
Keep blank garments, plastisol ink, emulsion and the other materials you use in one library. Record purchase prices and units, then use them in your product costs. Real app captures below contain sample woodworking data.

Inside CrafterBy / MaterialsActual app
CrafterBy’s Materials Library with unit prices, stock levels and suppliers in a sample woodworking account.

Your materials, organized · Real captures with sample woodworking data; your work uses the same tools.

View full size
Materials

Know what you paid and what you use.

Keep purchase prices, units and waste allowances with your materials. Buying a large pack and using a small amount should be part of the calculation, not another guess.

Product templates

Reuse the work behind the quote.

Save a familiar product’s materials and process as a starting point. Review the quantity, design and active time when the next order is different.

Cost & margin

Compare a price with the costs.

See what remains after the costs you entered. You choose the price; the breakdown helps you judge the work and the order before committing to it.

Before you make the next batch or quote

“Customers only want a price per shirt.”

You can still give them one. Calculating setup separately does not mean sending a complicated explanation. It means the simple number you send has a reason behind it.

When the budget does not fit, you can discuss a simpler design, a different blank, or a larger quantity. Cost visibility gives you a starting point for that conversation. It cannot guarantee the customer accepts the price, and it should not pretend otherwise.

Your first step is small

Start with one product.
Build from what you know.

Rebuild one recent short run. Write down the batch setup total first, then divide it by the shirts you delivered.

Create your free account, add the costs you know, then explore a selling price. Replace estimates with measured numbers as you learn from your own work.

Calculate my first product

Start free. See current plans and limits.

Before you start

Questions from your craft.
Answers you can use.

Should I charge a separate screen fee?

You can show setup separately or include its share in each shirt. The key is to account for it once. Do not add a screen fee on top of a unit price that already recovers the same work.

Can the calculator choose a quantity discount?

You choose the selling price. Calculate the setup share and repeated costs for each quantity, then compare the margin. A larger run can spread preparation further, but it does not make blanks or handling free.

How should I cost a reorder?

Review what is genuinely reusable. Saved artwork or retained screens may reduce preparation, while registration, testing, printing, and cleanup may still happen. Duplicate the calculation and update those assumptions rather than copying the old selling price blindly.

I’m only starting to sell. Is this for me?

Yes. You can begin with one product and the materials you already use. Rebuild one recent short run. Write down the batch setup total first, then divide it by the shirts you delivered. You don’t need a team or a large catalog to start understanding your costs.

Is the money left after these costs all profit?

At a $14.50 selling price, $7.45 remains after the $7.05 of costs listed in this fictional example. Any packaging, overhead, selling fees, shipping you cover or applicable taxes not listed here can reduce that amount. Include your active labor as a cost too; it is separate from the margin left afterward.

Can I try it before choosing a paid plan?

Yes. Create an account and start free with one product. Check the pricing page for current plan features and limits. You can compare the process with your existing notes or spreadsheet before deciding what you need.

Your work deserves a price you understand

Make the product.
Know what it costs.

Start with your materials, your process and your time.
Give the next price a reason behind it.

Calculate my first product

Free to start · Your costs, your price, your decision