Onboarding Walkthrough
The first time you sign in without an organization, CrafterBy runs a five-step wizard: Workspace → Category → Material → Product → Done. It takes about ten minutes and leaves you with one real priced product.
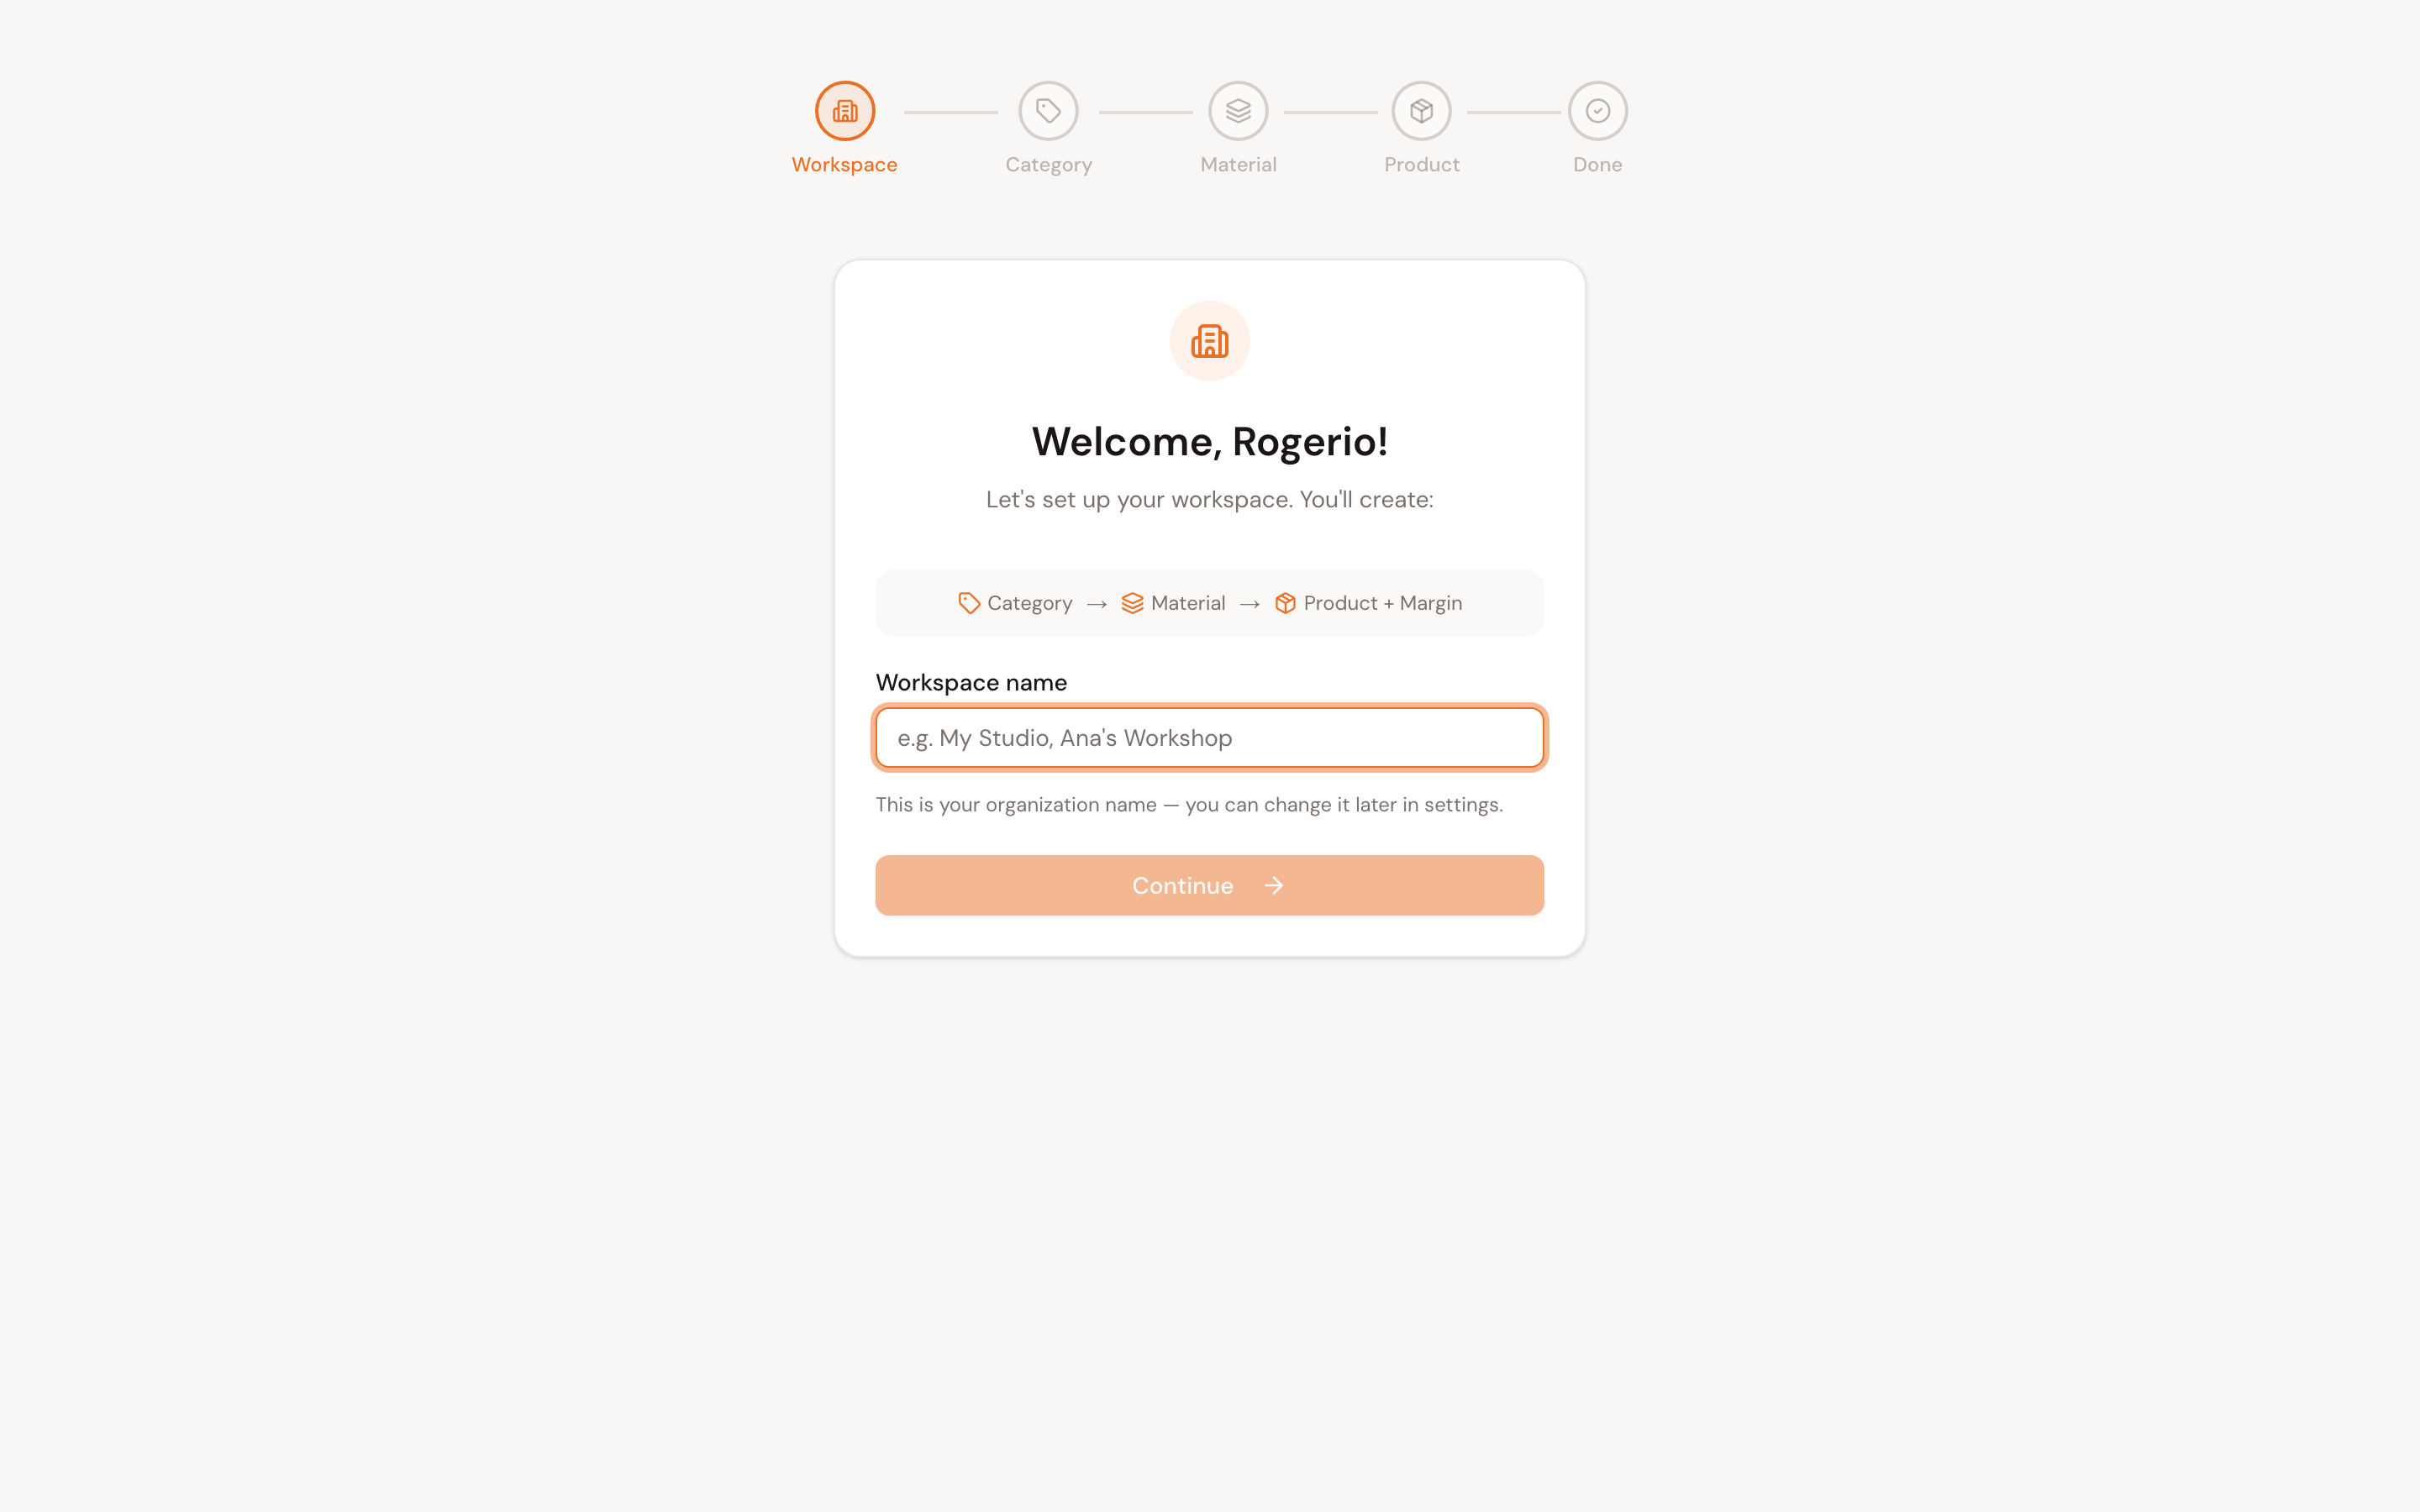
Step 1 — Workspace
One field: Workspace name (minimum 2 characters). Creating it makes you the Owner and seeds the default material types.
Step 2 — Category
One field: Category name. Examples: Leather, Fabric, Metal, Leather Goods. The category is created for both materials and products at once.
Step 3 — Material (skippable)
| Field | Required | Notes |
|---|---|---|
| Material name | Yes | e.g. Natural Leather, 500g Canvas. |
| Type | Yes | One of the seeded material types (Raw Material, Consumable…). |
| Price (€) | Yes | What your supplier charges. Must be greater than 0. |
| Unit | No | unit / m / m² / kg / g / L / ml. |
This creates a simple-priced material with stock tracking off. You can skip it and add materials later.
Step 4 — Product (skippable)
| Field | Required | Notes |
|---|---|---|
| Product name | Yes | e.g. Classic Leather Wallet. |
| Category | — | Read-only: the category from step 2. |
| Material + quantity | No | Shown only if you added a material. Updates the material cost live. |
| Retail price (€) | Yes | Must be greater than 0. Cost and margin update as you type. |
Margin here is (retail − material cost) ÷ retail. It ignores labour, machines and overhead, which you add later on the full product form.
Step 5 — Done
A summary of what you built, plus links to add more materials, set up overhead, and open the cost calculator. The final button is See my product or Go to Dashboard.
Skipping is fine. Only the workspace and its category are required. Everything else can be built from the normal pages afterwards.
After the wizard: the fastest path to an accurate first product
The wizard gets you a product priced on material cost alone. To get a number you can actually trade on, do these five things in this order. The order matters: each step feeds the next.
1. Set your cost settings
Settings → Cost Settings. Set your default hourly labour rate and default waste factor.
Why first: every product you create inherits these defaults. Fixing them now beats correcting fifty products later.
2. Set up overhead
Settings → Business Overhead. Enter your monthly fixed costs — rent, utilities, insurance, software, tooling — and choose how they are spread across your output.
Why: overhead is the cost makers forget most often. Without it your prices cover materials and time but not the roof over the workshop.
3. Add your materials
Materials → New Material. Name, type, unit and what your supplier charges. For example: Soy Wax GW 464, bought as a 1000 g bag for €8.50 — enter it as a unit-conversion material so CrafterBy derives the cost per gram for you.
Why: materials are the building blocks; you need at least one before a product costs anything.
4. Build a product
Products → New Product. Add the materials it consumes with quantities, the labour steps with their times, and any machine time.
Why: this is where it comes together — CrafterBy pulls material costs, your hourly rate, machine rates and overhead into one unit cost.
5. Read the cost breakdown
Open the product and look at the breakdown: materials, labour, equipment, overhead and the total, then compare it with what you currently charge.
Why: this is the whole point of the product. If the number surprises you, that is the most useful thing CrafterBy will tell you all year — it means your old price was built on incomplete data.
Then repeat steps 3 and 4 for the rest of your catalogue. The more of it you enter, the more the Reports section can tell you about which products are actually worth making.
Comments
No comments yet. Be the first to comment!
Log in with your CrafterBy account to leave a comment.
Log in to comment